Saturday, 25 April 2015

TR5 EFI

Today was the day to get on with the EFI system

I needed to fit a lift pump to feed the swirl pot, which I fitted in the rear inner wing. This is made by webcon, and has an integral high pressure pump


The lift pump, which will "suck" was fitted to a bracket that I made and fits in snugly under the fueltank. this mounts to two existing bolt holes on a bracket, the swirl pot was fitted via rivnuts. The lift pump has a coarse filter on its input.


The same bracket holds the high pressure filter, fitted after the efi pump


 The lift pump feeds the bottom of the swirl pot, and the restricted return goes back into the top of the fuel tank


Feed to the lift pump

I then fitted the high pressure fuel regulator, with a copper pipe return to the back of the engine


I had contemplated bring the fuel lines up on the manifold side of the car - normally they run to the other, distributor side as thats where the mechanical fuel injection sits, but in the end I decided to keep to the normal fuel pipe routing, and ran two rubber hoses from the manifold fuel send and return, round the back of the engine, to the normal fuel pipe positions.


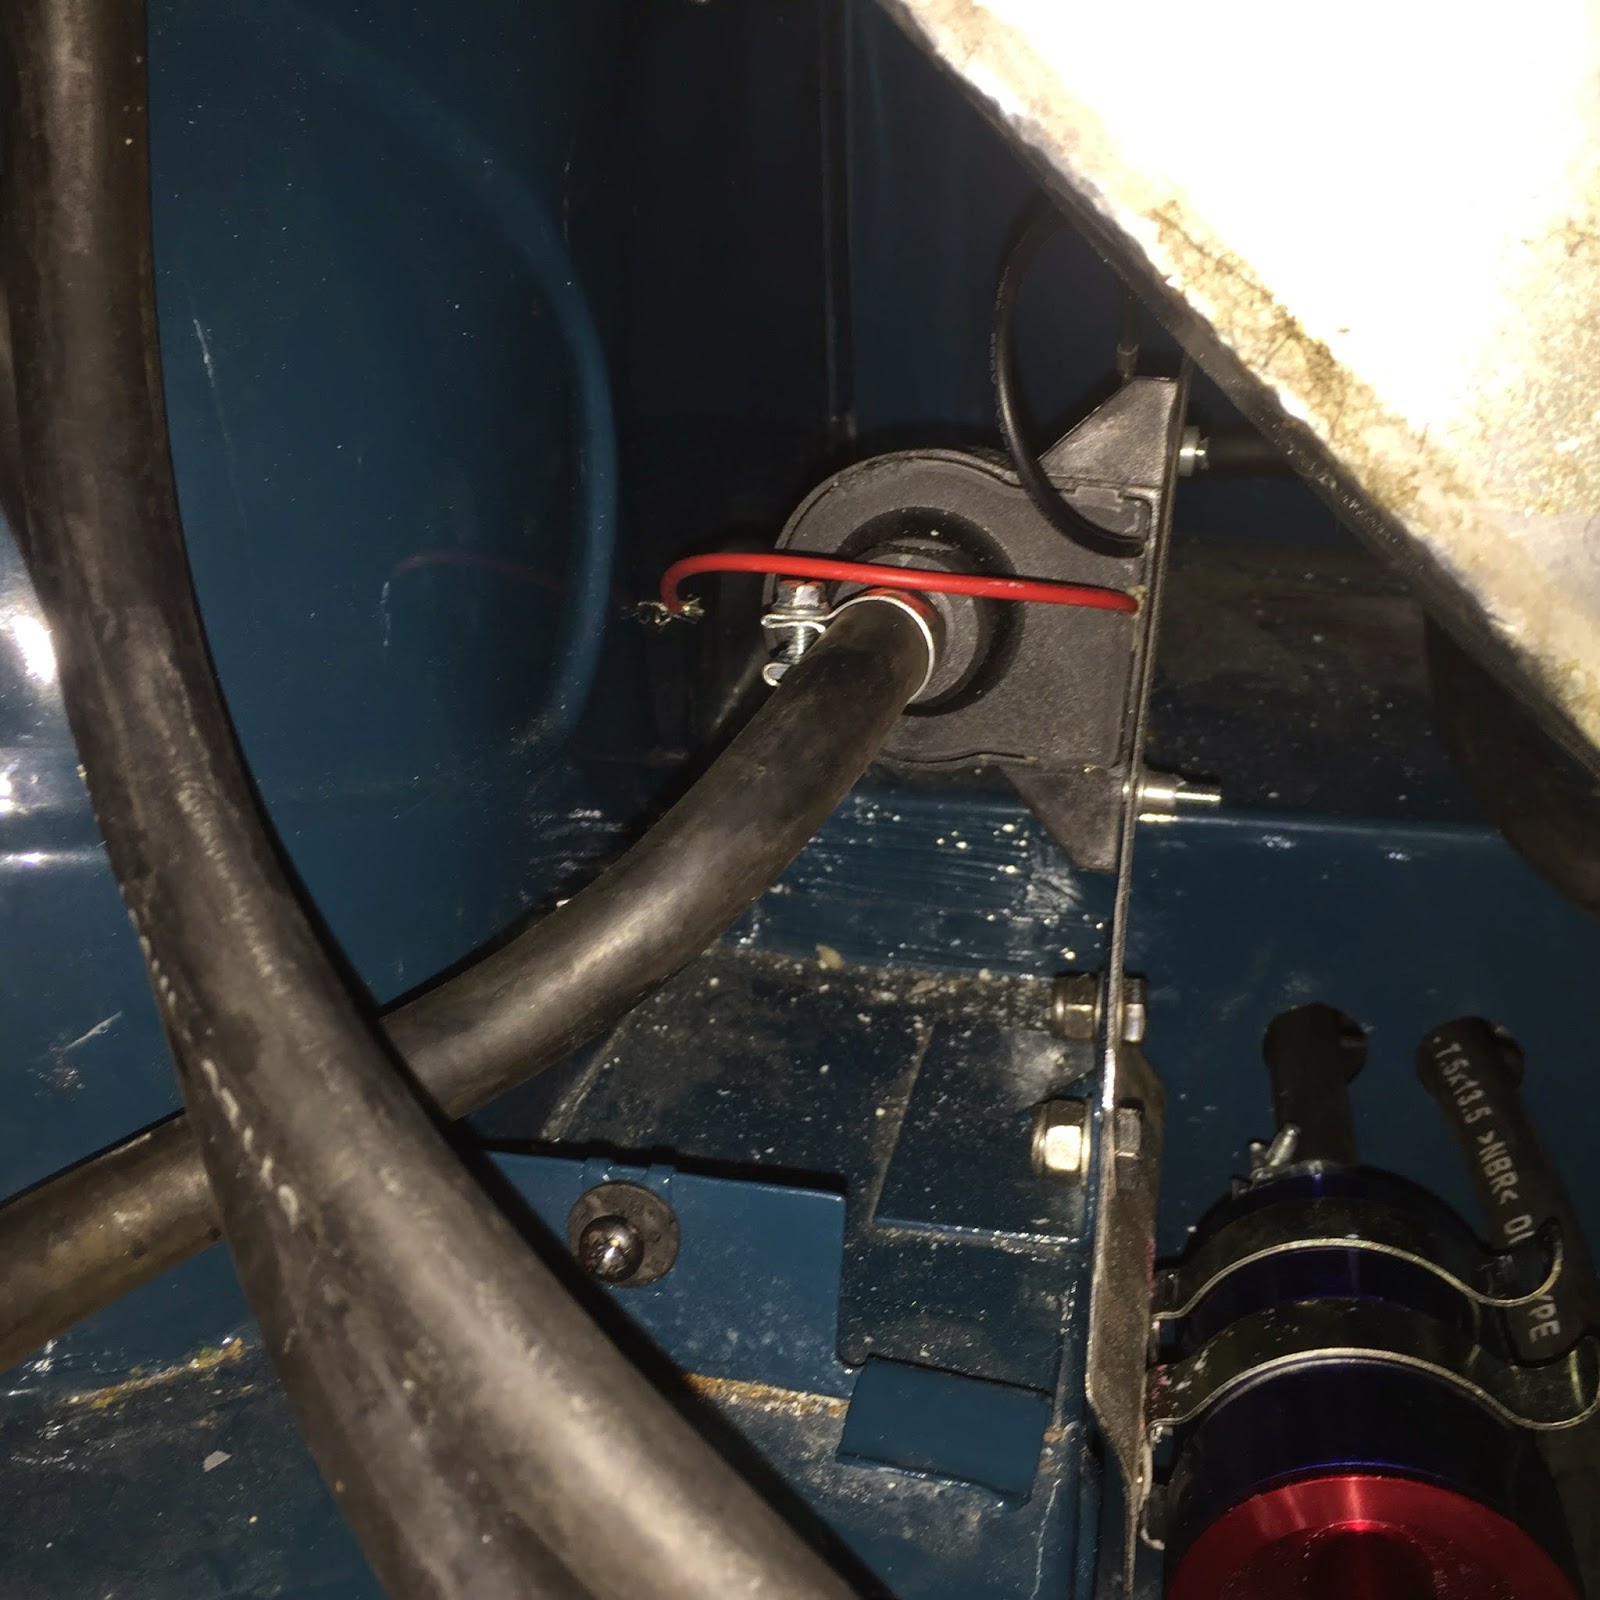
I have just about finished fitting the send and return pipes down the chassis, but I need 2 grommets to pass the fuel pipe through the floor under the fuel tank, and without these I couldn't complete the work. Once these are fitted I'll finish clipping the fuel pipe to the chassis rails, and complete the job.

Before anyone asks I have flared the ends of the copper pipe so that a good reliable seal is made to the rubber.

I need to wire up the pumps, but thats a job for when I finish the wiring

Sunday, 12 April 2015

TR5 Interior

This may not look like much, but its taken 3 days work to get to this point.

The interior is now finished (although I have to bolt the seats in, and fit the door cards).

The carpets are correctly secured with the snap rings too - what a pain of a job!


The H frame on the transmission tunnel was fun too - a very tight fit at present. The gear knob is not original (although I have the original one) as I have fited an overdrive logic controller - actuated by the small black button on the right hand side of the gearknob. so no changing up into a gear with overdrive already selected !

The next item to have attention was the grill, you cannot even get repro ones, and although the grill was in good condition the anodising had worn through in many places. I looked at having it re-anodised, but the consensus was that stripping and polishing would probably damage the alloy, so I have taken a different approach.

After a good clean, I have sprayed it with acid etch primer, then a coat of white primer, follwed by a chrome paint. When this has dried, I shall mask off and apply the matt black - it will be interesting to see how this comes out - and if its no good I can always strip it off again and try re-anodising.

Grey primer


and now chrome paint applied - front


and back


The pictures actually don't do it justice, it looks far shiney in reality

So all thats left now is:-

fit the grill
fit door cards
finish the elctrics
fit fuel pump and lines
fit the hood
fit an exhaust

and then find all the niggles !

By the way got another nice part got the Sprint, a nice new old stock gearbox mount


Where am I?